
To setup smart DNS in MAC OS X please follow the next instruction:
- Open System Preferences > Network


- Select Wi-Fi or Ethernet depending on the method you use to connect to the Internet.
- Click the advanced button
- Select “DNS“
- Click the small plus on the lower left-hand side and add your DNS IP address.
- Remove any other DNS address
- Click OK and then click Apply
8. Go to “System settings” > “Network.”
9. Select Wi-Fi and click “Details” next to your network.
9. Select Wi-Fi and click “Details” next to your network.
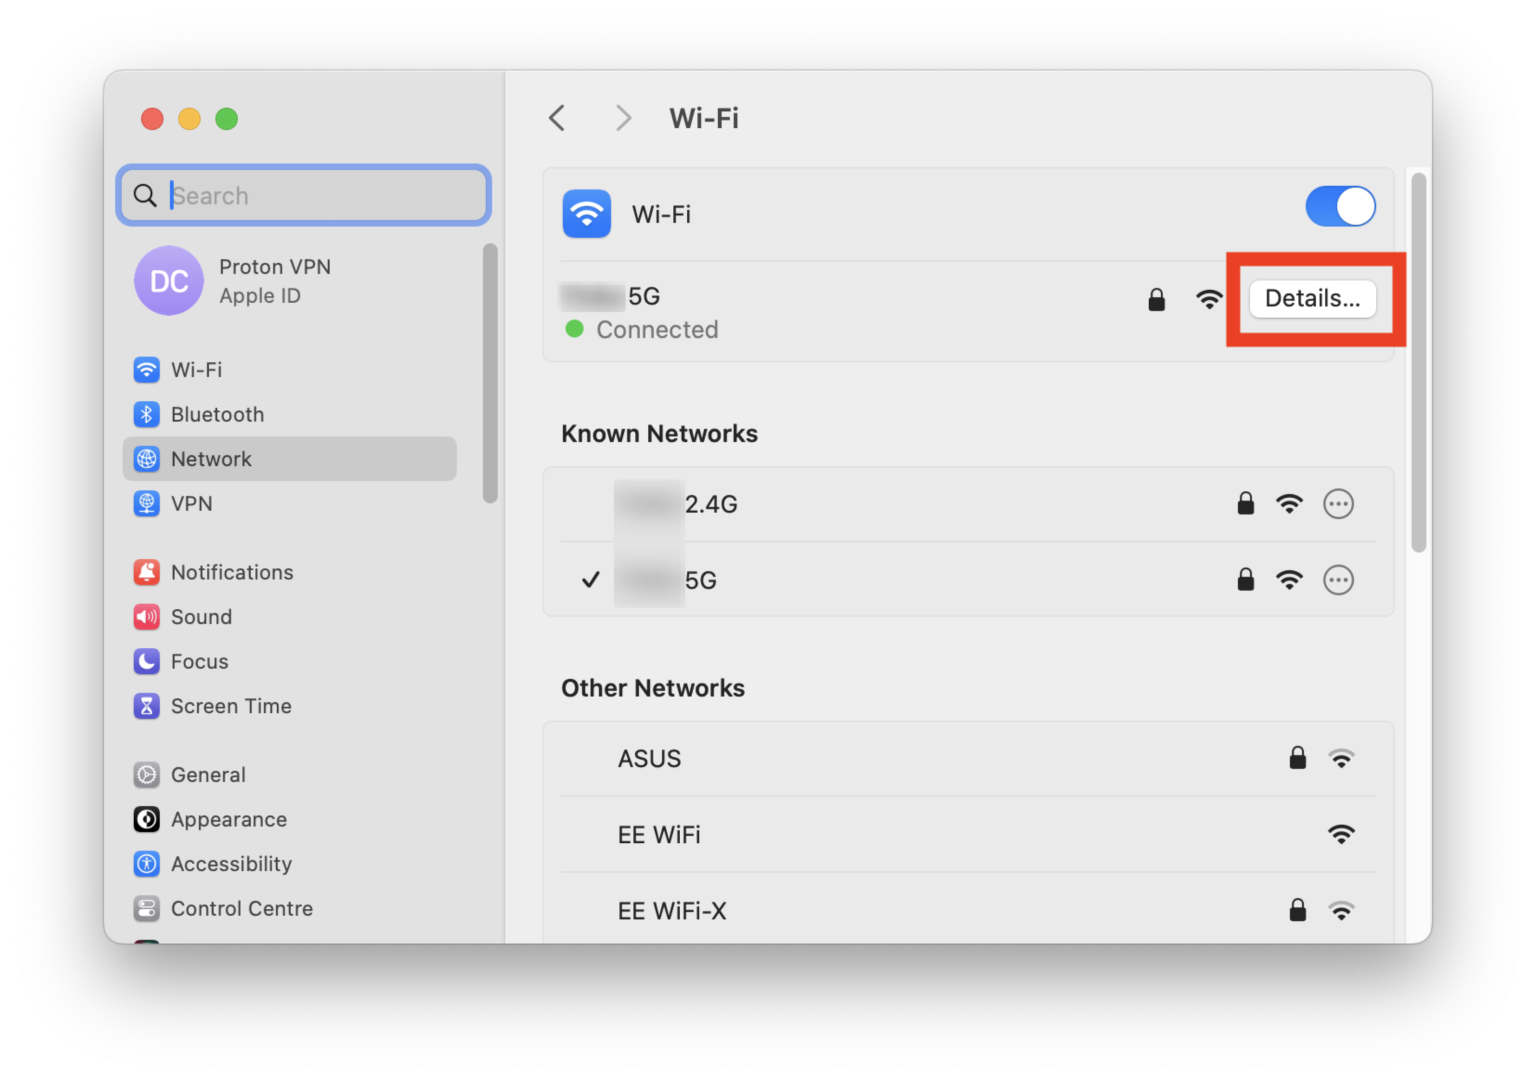
10. Click the “TCP/IP” tab.
11. In the “Configure IPv6” drop-down menu, select “Link-local only.”
11. In the “Configure IPv6” drop-down menu, select “Link-local only.”
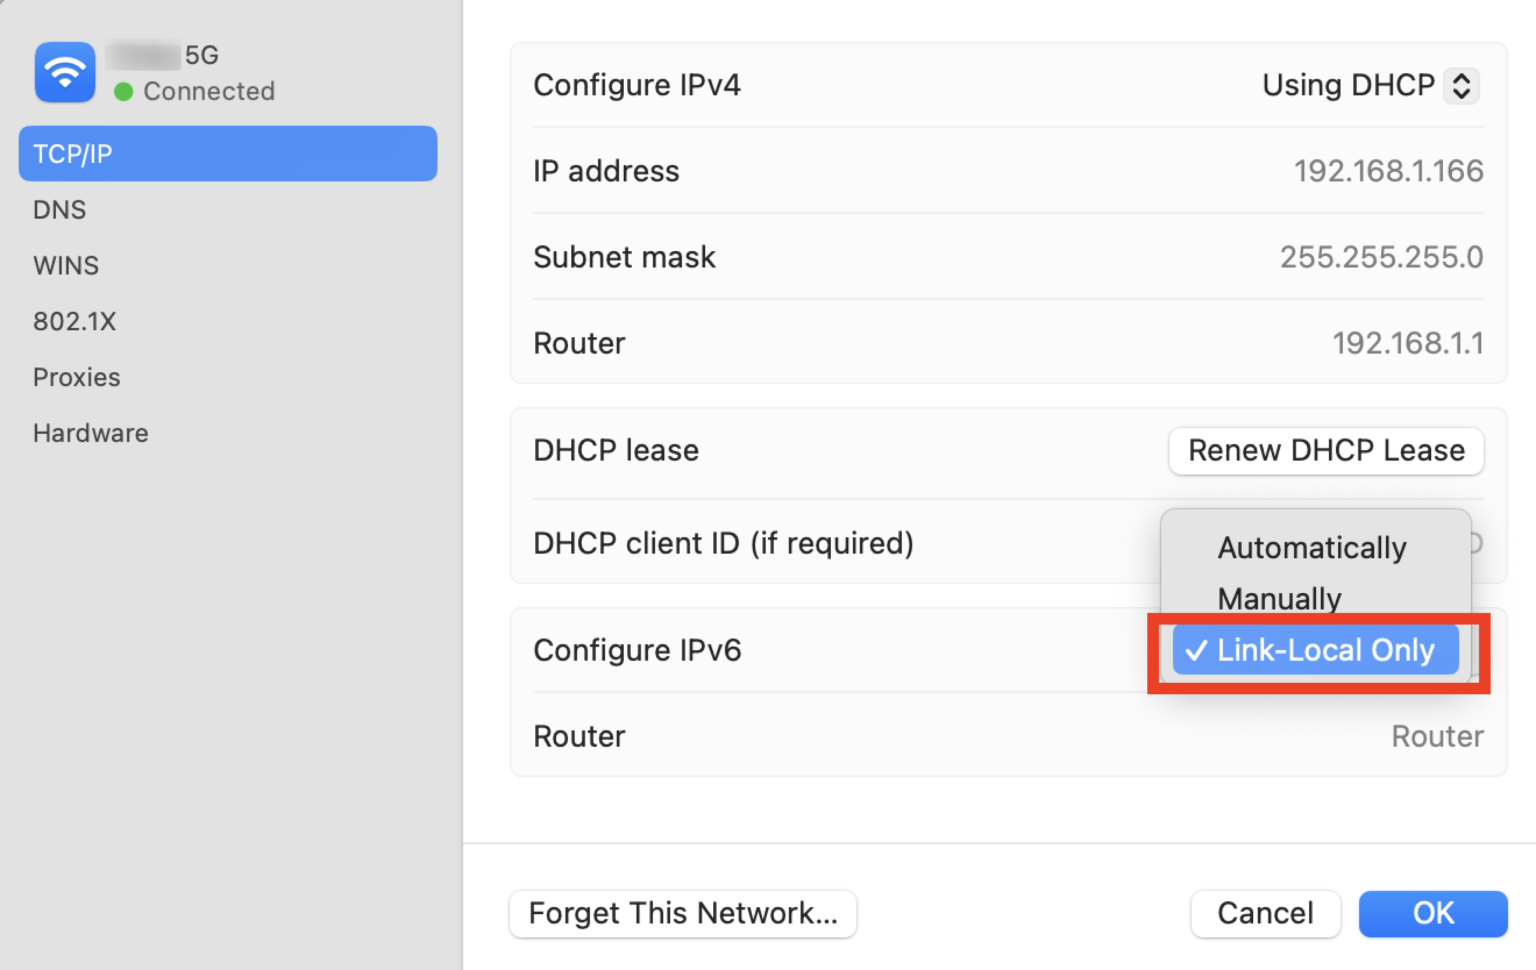
12. Click “OK” and then restart your Mac.
Important:
In case if you are using Safari browser and video does not play – try it in the Chrome or Firefox browser.
For Chrome browser you need to deactivate the internal Chrome DNS.
Deactivating it causes Chrome to use your system setting for DNS.
You need to load chrome://settings/security in the Chrome web browser’s address bar to access it.
Scroll down to find Advanced section. There you will find an option to enable or disable Secure DNS.
You need to disable it, close Chrome and start it again.


Recent Comments